What's needed:
- USB data cable
- MediaTek USB VCOM drivers
- SP Flash Tool ( Latest version SP_Flash_Tool_v3.1224.01)
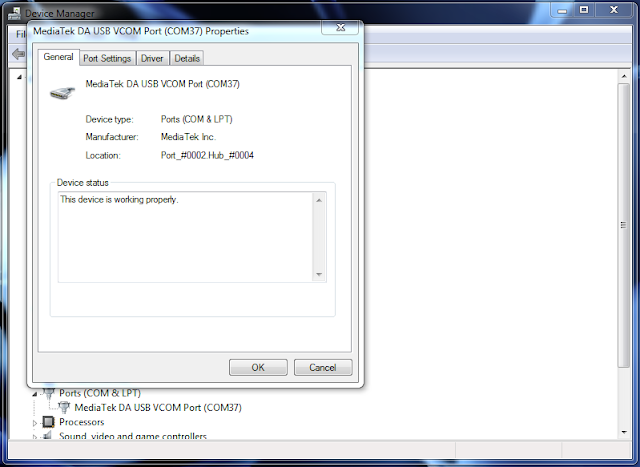
- First of all, make sure that you have MediaTek DA USB VCOM drivers installed.
Flashing the whole ROM
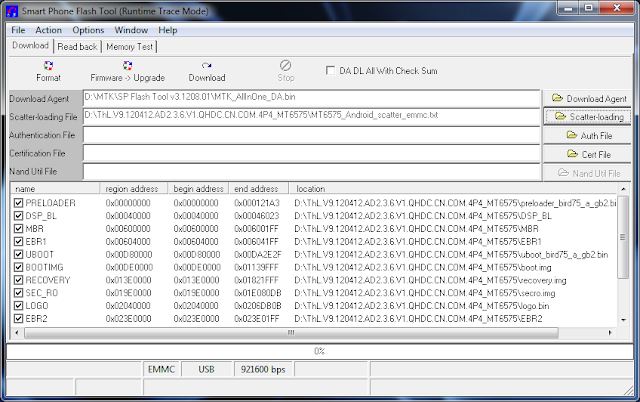
- First of all open SP Flash Tool, then click Scatter-loading button to load the correct scatter file
(MT6575_Android_scatter_emmc.txt or MT6577_Android_scatter_emmc.txt, depending on which phone you have) for your device and ignore any message that may appear.
- Turn off your phone, remove the battery and replace it after some seconds (and don't turn on the phone).
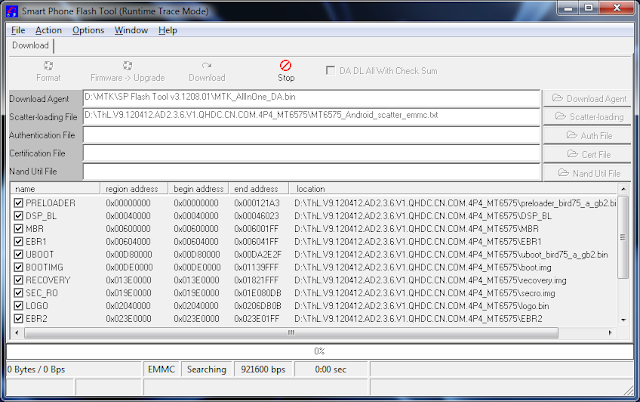
- Press F9 (or hit Download button) and connect your phone into the computer via USB data cable.
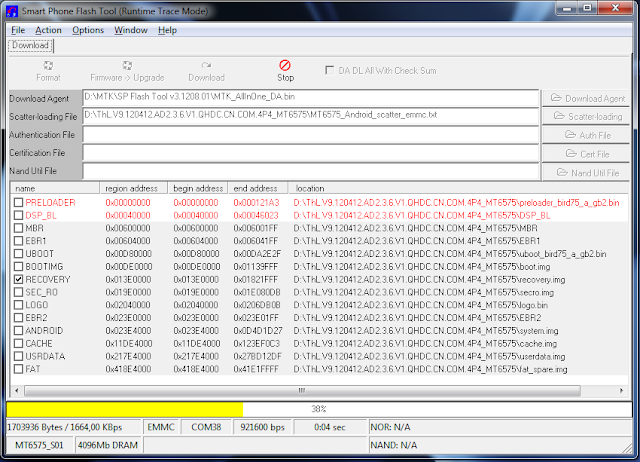
The process will start and a red progress bar will appear.
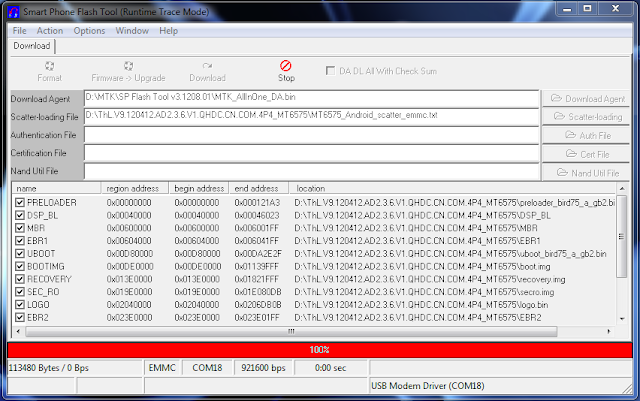
- After the red progress bar is complete, there will appear a purple progress bar.
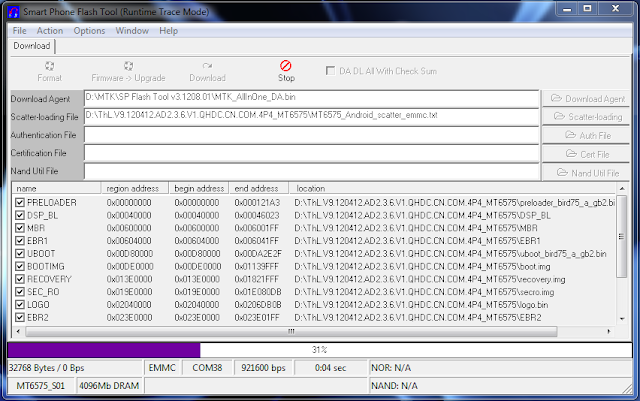
- Right after the purple progress bar is complete, a message will appear underneath it:
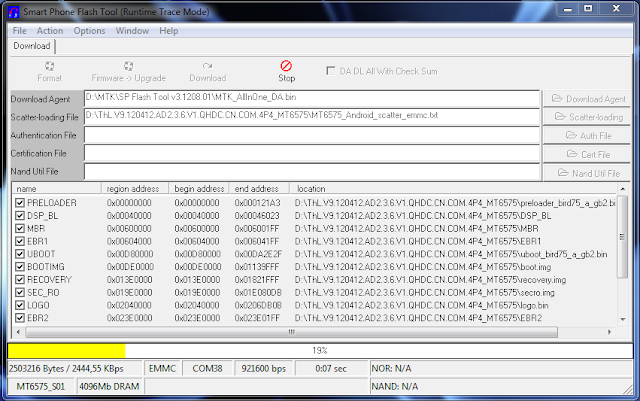
“Please insert USB cable in x seconds” and then the download will start right away (you will see the yellow progress bar filling up).
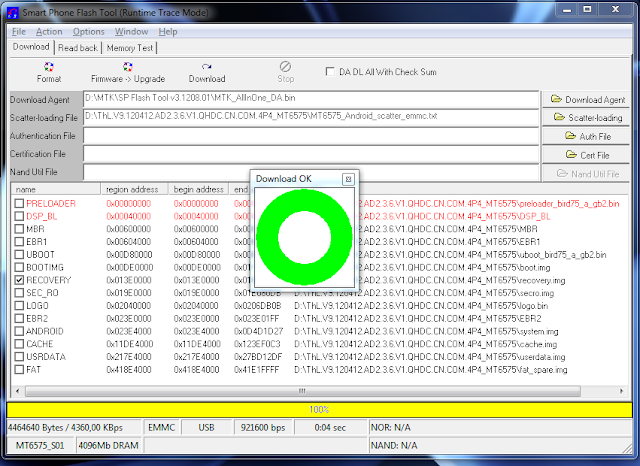
- When the yellow bar is complete, you'll get a popup with a green circle and Download OKmessage,
which means that the process has been successfully terminated.
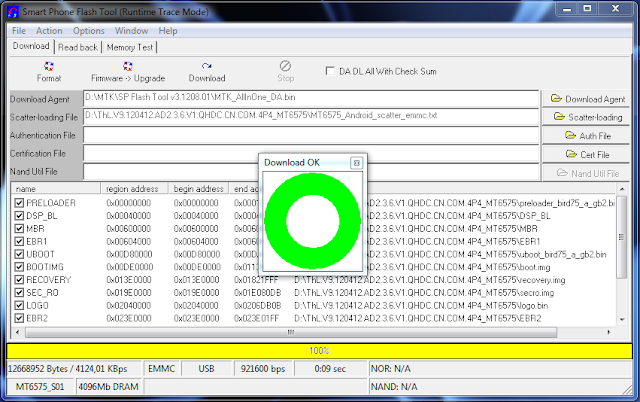
- You can now safely disconnect your phone and turn it on. The process ends here.
Flashing only part of the ROM
- In case you want to flash just one part of the ROM, that is also possible. In the shown example, only recovery image will be flashed.
Deselect all parts except the one(s) you want to flash and then press F9 (or hit Downloadbutton).
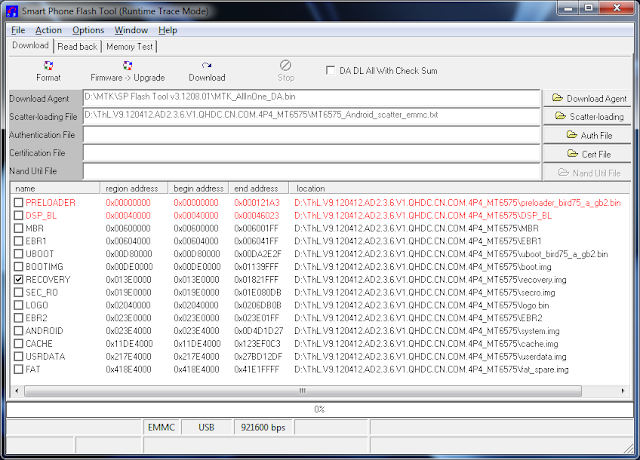
- The tool will immediately show a warning because not all parts are selected, but you should continue anyway. Safely press Yes to continue.
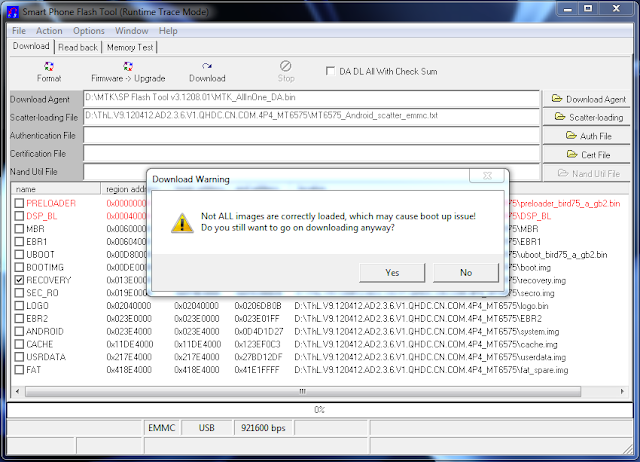
- The download of the chosen partition image will start and after the yellow bar is complete, the popup with the green circle should appear.
- Please note that, even though it isn't mandatory to select it on the list of images to flash,
preloader file must be present in the same folder as the other partition(s) that you want to flash, or else phone will not be able to enter into download mode.
Attention: Please follow the instructions carefully. I will not take any responsibility on whatever may happen with your phone.
Very important warning: Always make sure that you trust the sources of the ROM you download and know that it is meant for your phone.
After flashing a wrong preloader, your phone will be completely dead (can't be powered on, it will not charge and won't be detected anymore by the computer) and there is no way to recover it.
================
[Tool]SP FlashTool ||MTK Android FLASHER
http://forum.xda-developers.com/show....php?t=1982576
======================
Tidak ada komentar:
Posting Komentar